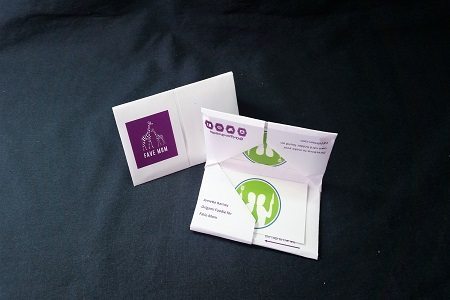
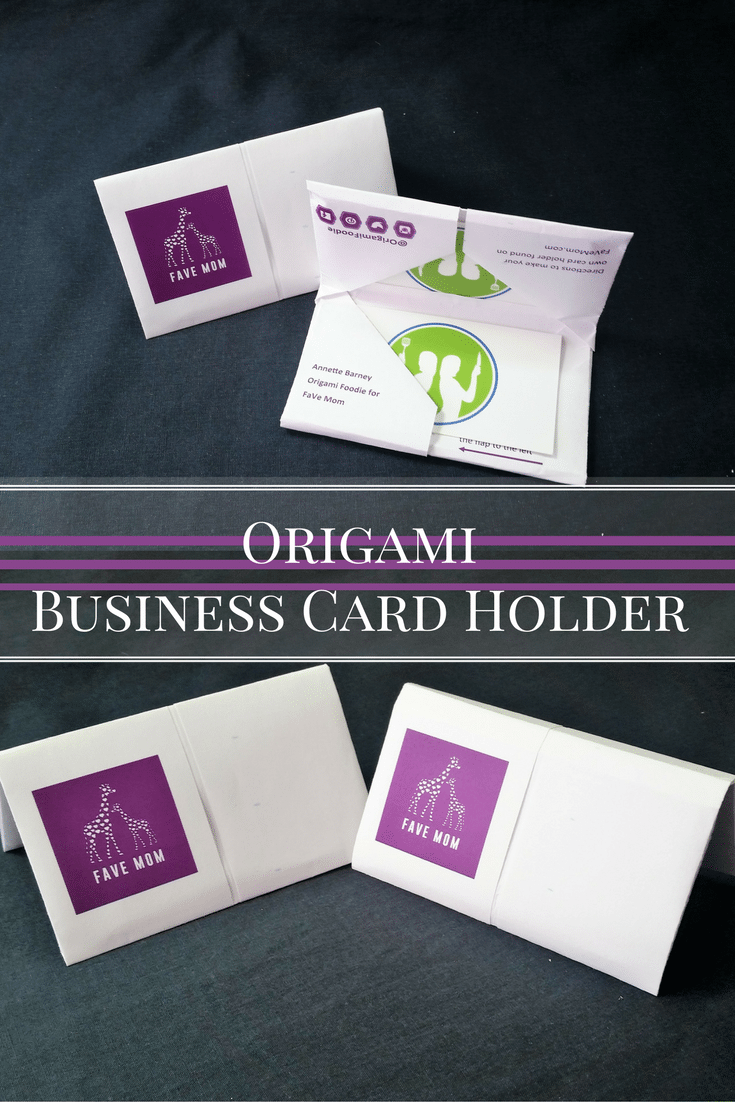
An origami business card holder is probably the most practical (bordering on dull) origami I could ever share with you. But…… I am pragmatic like that. In anticipation of attending a conference (for bloggers naturally), I wanted to carry my business cards around in something that felt like me. This would be the only time in my life that I channeled that fashion philosophy about, “wear what is an extension of you.” (usually the “extension of me” is whatever fits and is clean). I didn’t want to just put the cards in the back of my name badge or back pocket (which is the really practical thing to do). I wanted to make an origami statement.

I began working this out by taking my usual gift card origami fold and fitting it to business card purposes. This origami business card holder model does fit some gift cards, because they are so close in size to business cards. Maker beware: the slots are loose for more cards than a single gift card because usually you care multiple business cards, but do not gift multiple gift cards (but if you do gift multiple cards my birthday is in July).
I made a printable template, (PDF File) if you would like to practice making one that matches the photos. The picture and words give you a cue if you are getting it right when you compare to the steps. Then you can create one that is more an “extension of you” and fold it with your logo and such. Or you could just pick out some fun scrapbook paper.
How to Make an Origami Business Card Holder
To know what the symbols on photos mean, please refer to the Basic Folding Symbols post for further information. You can view video instructions on OrigamiFoodie’s YouTubeChannel
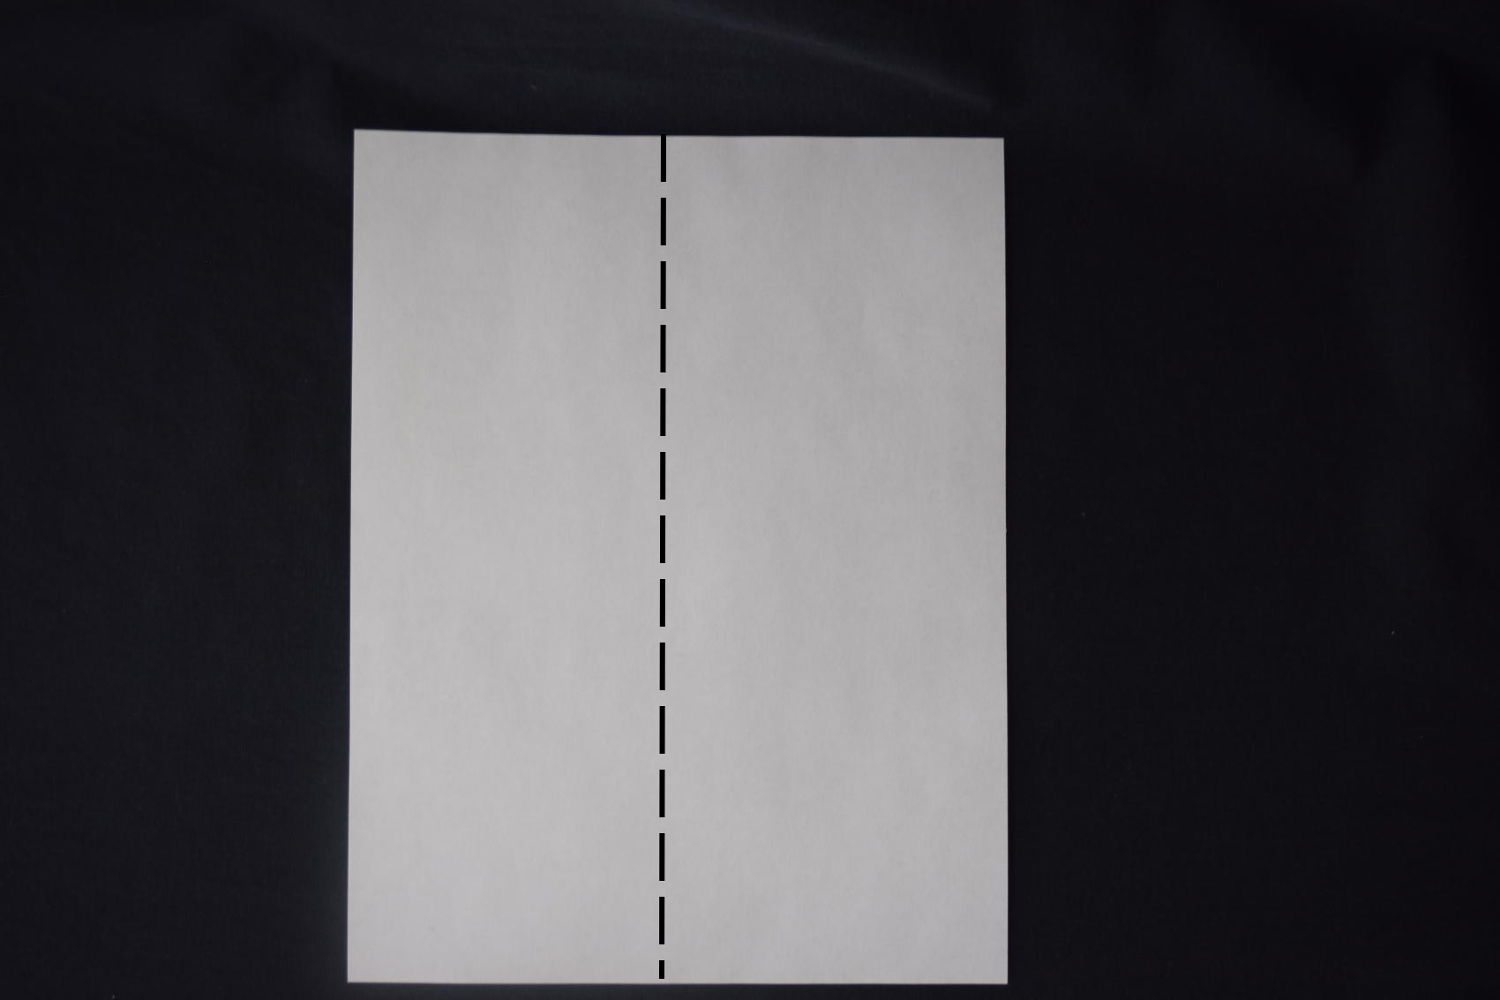
Step 1

Lay your 8 ½” x 11” paper with the 11” side vertical. Place the print you want on the outside of your business card holder down (NOT facing you). Fold and unfold the paper in half (hot dog style).
Step 2

Using the creases as a guide line. Fold the right edge to the crease and unfold. Repeat on the left side.
Step 3

Using creases as a guideline, fold the upper right corner and edge to line up with the ¼ page crease mark. Repeat on the remaining 3 corners.
Step 4

Refold the right side in to the center crease. Repeat on left side.
Step 5

Rotate the paper 90 degrees (counterclockwise) to have the long side laying horizontal. Turn the paper over.
Step 6

Fold and unfold the paper in half (hamburger style)
Step 7

Using the center crease as a guide, fold the right side paper edge about ¼ inch past the center crease. Repeat on the left side.
Step 8

Now take the left side you just folded over and tuck the upper and lower edge into the angled spaces they are overlapping.
Step 9

Fold the entire thing in half again on the same crease you previously made.
Final (that means you are all done)

Follow directions on printable for where to place your cards and the cards you receive.
While I was printing up my business cards (and placing them in my origami business card holder)my husband asked me why so many. I said, “Cause I hand out this many.” He said he wanted to hire me to attend his conferences because he never hands out that many. #IntrovertProblems

Save
Save
Save
Save
